- Table of contents
This article guides you on how to create your Venue event.
If you are thinking of hosting your event online, please click here.
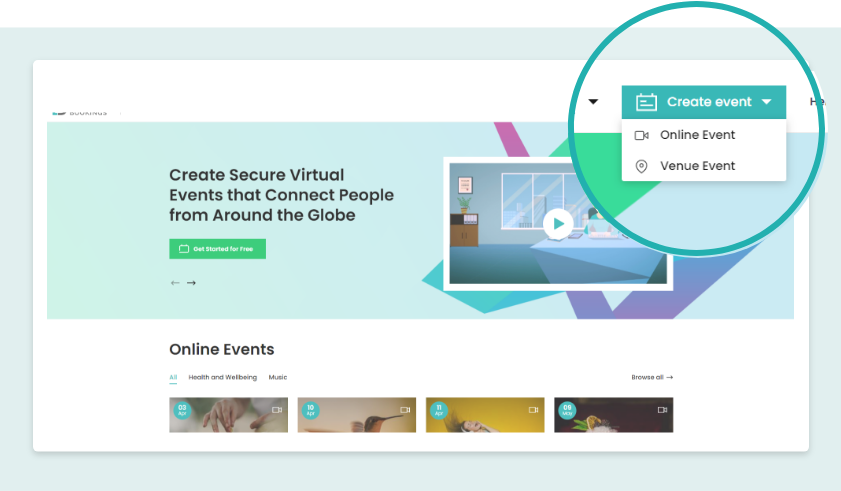
To continue with a Venue event, click on the Create Event on the top menu bar and select Venue Event.
Step 1: Details
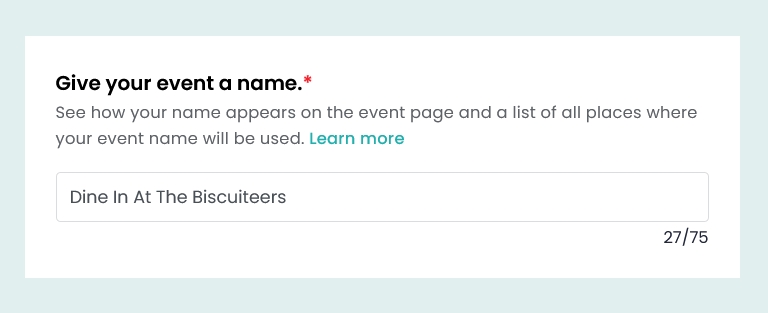
Give your event a name: Let’s start by giving your venue event a name. Try making it a little catchy and unique to grab the audience’s attention.
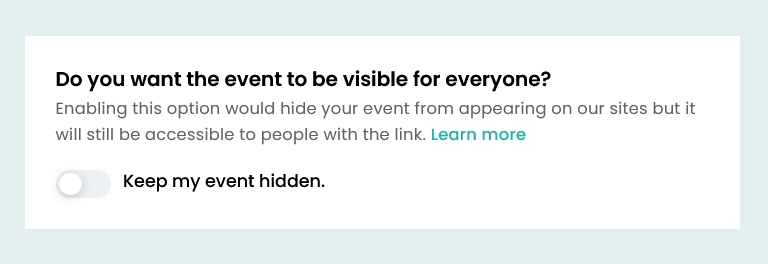
Do you want the event to be visible to everyone? :
Decide if you wish to host a public or hidden event. Public events get listed on our website and are visible to everyone. On the contrary, hidden events are only visible to your chosen people with the links.
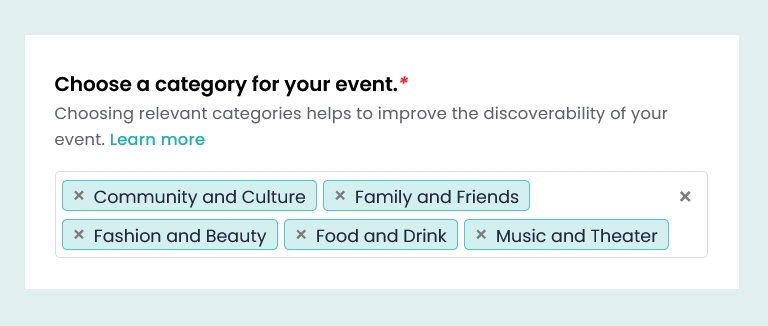
Choose a category for your event. : For public events, please select a relevant category to help your event reach the right audience.
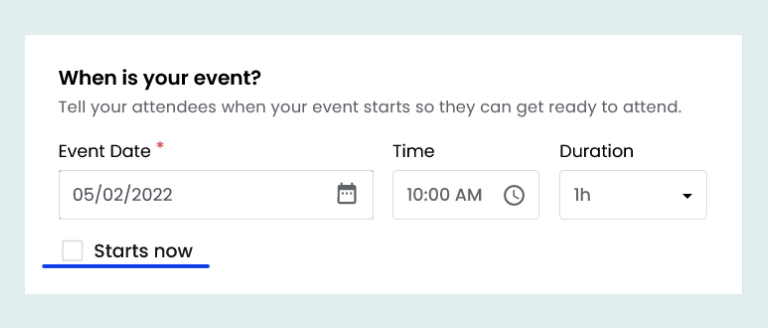
When is your event? : Select the event start date, time, and duration of your venue event from the drop-down boxes.
If you wish to start your event immediately on successful creation, you can tick the ‘Starts Now’ checkbox above.
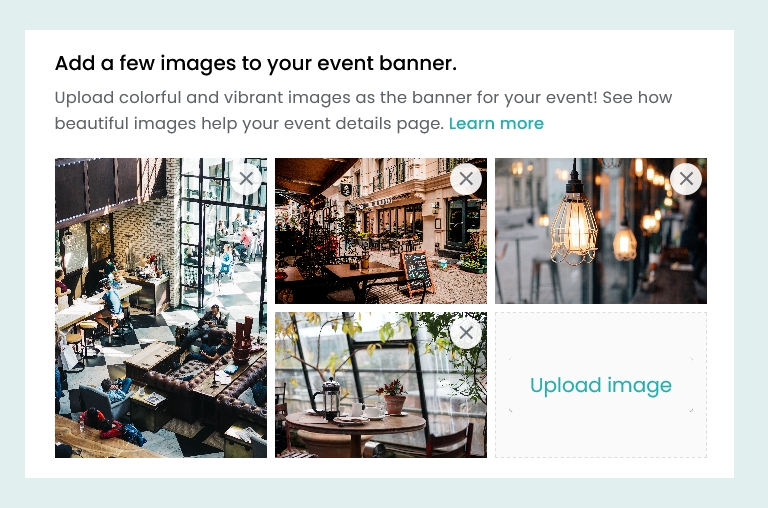
Add a few images to your event banner: Add a few colorful images as your event banner (you can upload as many as five) to make your event details page as colorful and vibrant as possible.
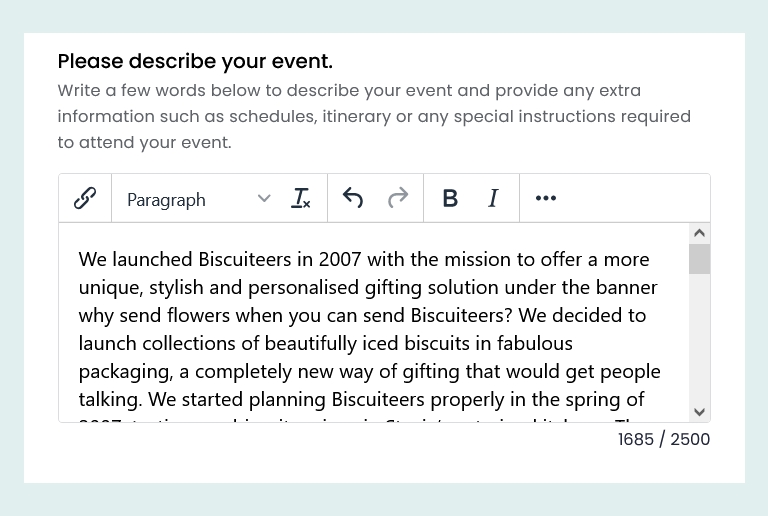
Please describe your event : Add a description of your event and explain why people should register for your event. You can also use this space to include any itineraries, schedules or important instructions related to your event. In short, utilise this space to the best of your capabilities.
Where is your event taking place?: You can choose to reveal the venue later and proceed by clicking on the Continue button. However, to add a venue for your event please check the ‘This event is being hosted in a venue’ tickbox.
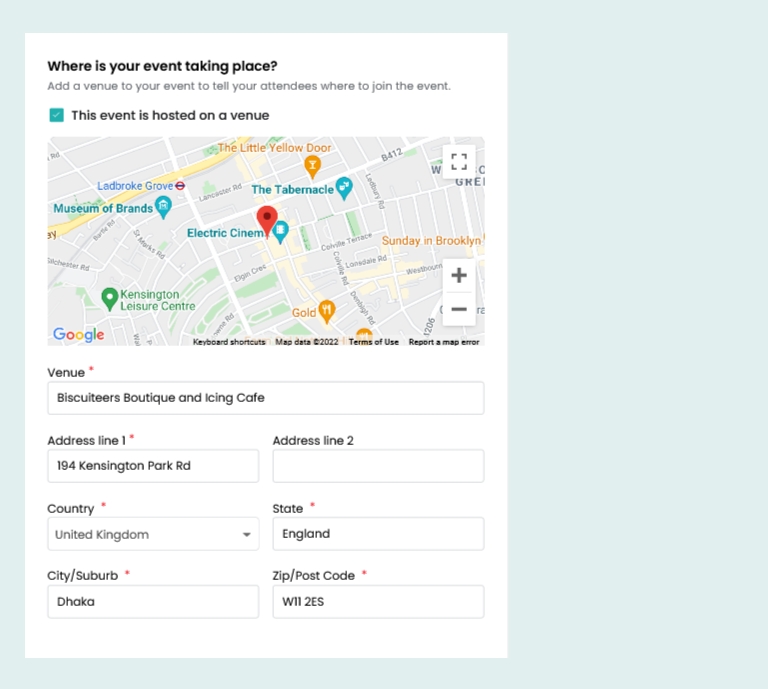
Start typing your venue name and you will see a list of suggestions appearing where your venue should be listed. If you select your desired venue, the rest of the address column will be auto-completed. You can also try dragging the red pin from the map and pin the venue location.
After the basic information is set, it’s time to create tickets for your event. For this, click on ‘Continue’ to proceed.
Step 2: Tickets
Let’s create tickets: Create your tickets by deciding on the price and the number of tickets you want in your event.
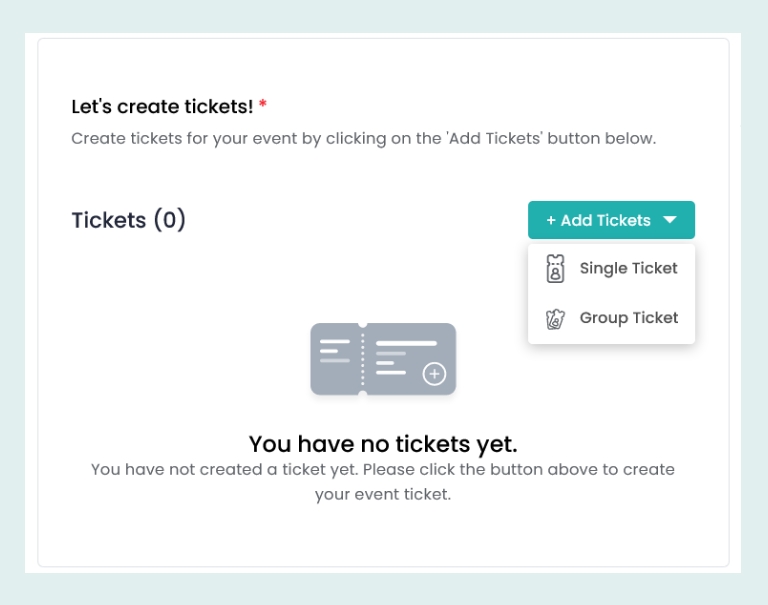
For your venue event, we offer two types of tickets:
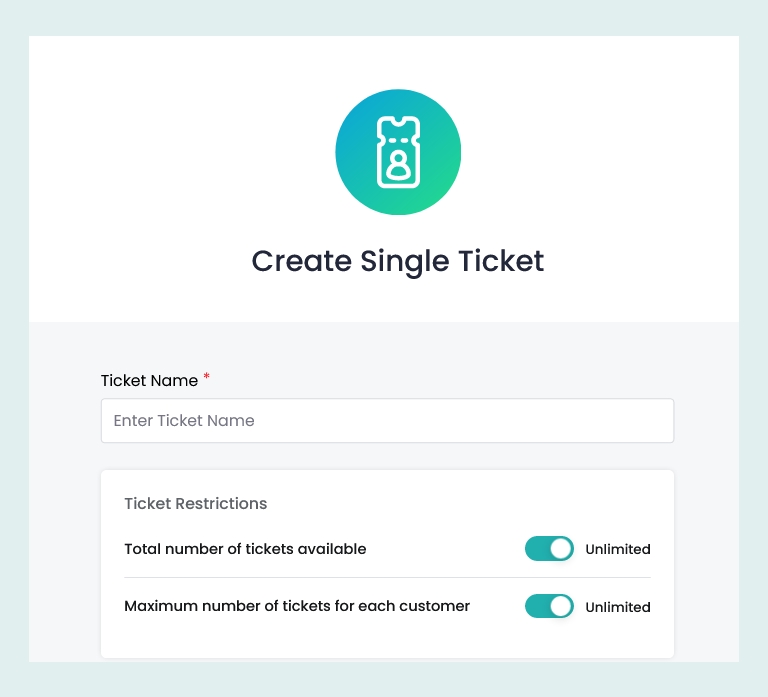
Single Tickets: Single tickets are sold individually but a customer can manually try to book multiple of these tickets if you allow.
To customise these tickets, you can group them by names (such as Gold, Silver, Platinum). You can also limit the number of tickets you want and set the number of tickets each customer can buy.
You can provide an early bird discount where you offer your tickets at a lower price for customers who choose to register at your event within a specific time interval. To set this discount, enable the toggle to provide the discount amount (in fixed amount or percentage price of the ticket) and the date till which you want this ticket to be paid.
Lastly, finish your ticket creation by providing the price and sorting order for your tickets. This determines the order in which your tickets will be displayed on your event page.
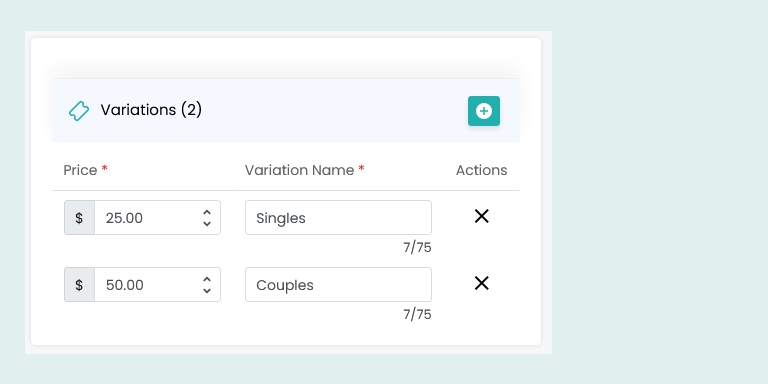
Our single tickets also come with the feature of adding variations to your created single ticket. For example, for your single Gold ticket, you can add two variations of Child and Adult to this ticket. To do this, click on the Add Variation button and give your variations a name and a price. Once you add a ticket variation, the single price is removed, and the price of the variation tickets is considered.
Group Tickets:
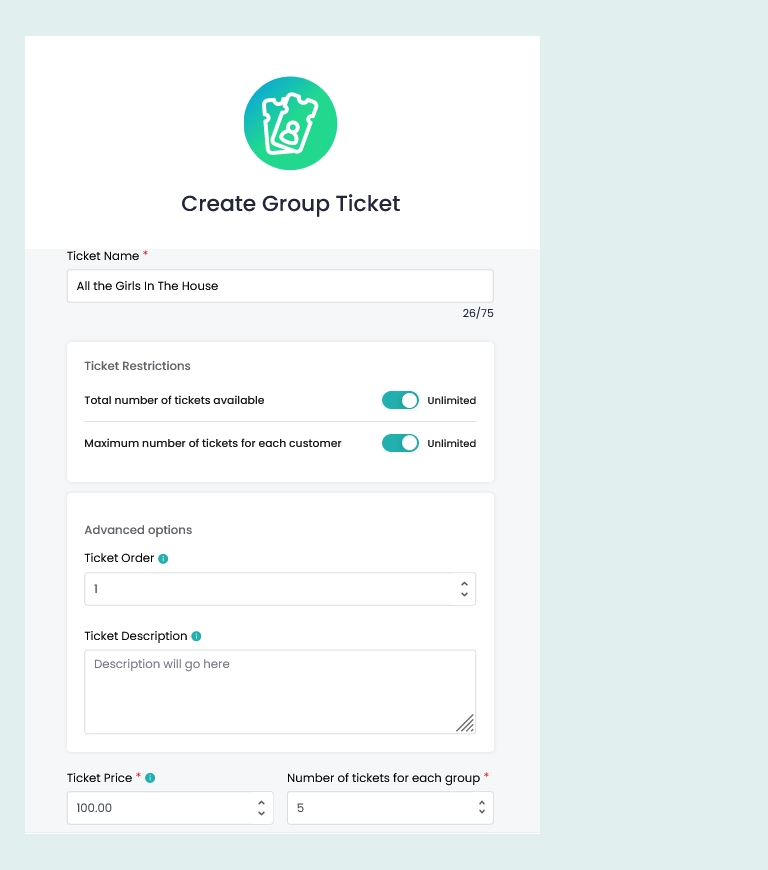
Group tickets are sold in bulk amount. This means customers will have access to multiple tickets if they buy one group ticket.
Customising your group tickets are straightforward. You can do it by setting a name for the ticket and deciding on the price and the number of tickets you want to send in a bundle.
Similar to the single tickets, you can also set the early bird discount and the date till which you want this ticket to be valid. Lastly, finish by providing a sorting order for your ticket to determine the order in which you want your tickets to be displayed.
Now, if you are done with your tickets click on ‘Continue’ to proceed to the last step of the event creation.
Step 3: Settings
In this last step, you can choose to customise your event settings further.
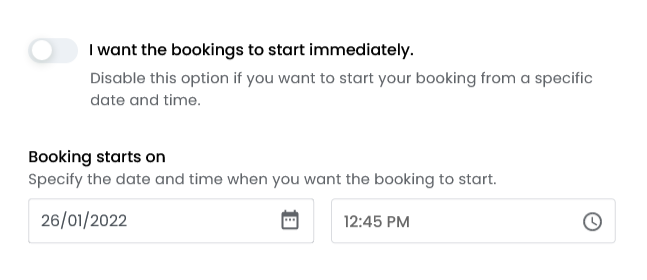
I want the bookings to start immediately: You can customise when to start the booking for your event. However, by default, we will start the booking for your event immediately.

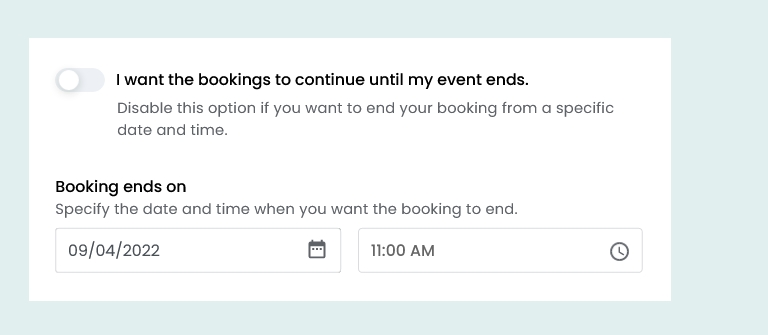
I want the bookings to continue until my event ends: You can customise when to end the booking for your event. By default, we will let the booking for your event continue until the event completion date and time.

I want my customers to pay the applicable service fees at the time when they make the bookings: You can choose to absorb our service charges within your ticket price. This will deduct our service charge from your ticket price. By default, we forward our service charges to your attendees and let them pay the fees in addition to the set ticket price.

I do not wish to offer my customers with option to cancel their orders and receive refund: If you do want to enable refunds, we have two options for you:
Refund customers manually: Select the date until attendees are allowed to cancel their tickets. You can review each refund request manually to decide whether you want to refund the particular attendee.
Refund customers automatically: Select the date until attendees are allowed to cancel their tickets and the amount you want to refund. If any attendee cancels their ticket within the selected time frame, they will automatically get the chosen amount refunded.
By default, we choose the no refund policy for you.
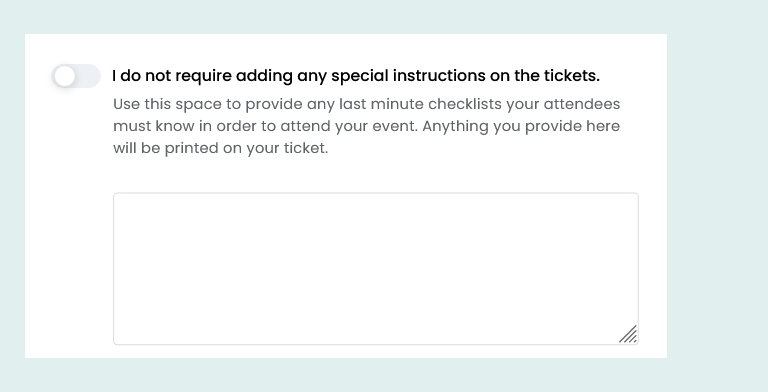
I do not require adding any special instructions on the tickets: You can provide any additional instructions to your ticket for your attendees. By default, we keep this disabled but if you need it please enable the slider to reveal the description box to provide your instructions.
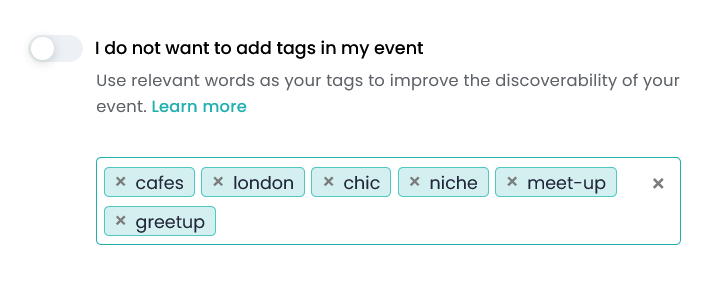
I do not want to add tags in my event: Add tags to your event to increase the discoverability of your public event.
Once you are happy with all the above steps, click on the ‘Create’ button to create your event.
You will be directed to the event dashboard, where you will find your event ready to be published. But before you publish, we have a few more advanced settings you could apply to take your event to the next level.
More Settings
To access our more settings, look into your event dashboard’s left-side menu panel. Here you will find the following customisations:
Does your event have multiple sessions?: To add sessions to your event, enable the toggle and go to the ‘Sessions’ tab to start configuring your sessions.

Collect attendee information?: Add attendee and booking details by enabling the slider and go to the respective tabs to build your attendee details / booking details forms.

Do you want to add a survey for your attendees?: You can also build and add your surveys and ask your attendees to fill them out to get feedback about your event.
Is your event Invite Only?: Enable this slider to make your event entirely exclusive for people you choose to invite.

And that’s it. Your event is all configured! So please sit back, relax and prepare for your event while we take care of your tickets and attendees.
To know more about how you can use our promotional tools to promote your event, please head over to our Help Center and browse through our Promote Event category.
And, as always, we are here for any queries you might have.
Just leave us a ticket or email us at contact@eventbookings.com.

